Precision is critical when it comes to medical tubing. In devices like catheters, stents, and cannulas, even slight deviations in wall thickness or diameter can have serious consequences. That’s why accurate offline measurement is a vital part of your quality control (QC) process.
While in-line extrusion monitoring provides real-time data, offline verification ensures final part quality after the tubing has cooled or undergone further processing. This is where tools like LaserLinc’s BenchLinc UT system shine, providing detailed metrology data for FDA compliance, traceability, and manufacturing standards.

Why Offline Tube Measurement Matters
Offline inspection plays a crucial role in catching dimensional issues that manual checks miss. The BenchLinc UT records key measurements in one pass, including:
- Outside Diameter (OD)
- Inside Diameter (ID)
- Wall Thickness
- Ovality
- Concentricity
These metrics are essential when inspecting tubing used in:
- Catheters
- Stents
- Cannulas
- Trocars
- Shavers
- Introducers
- Rods
- Fluid delivery systems
- Other medical device components
- Non-medical tubing (including aerospace and automotive applications)

What Is the BenchLinc UT?
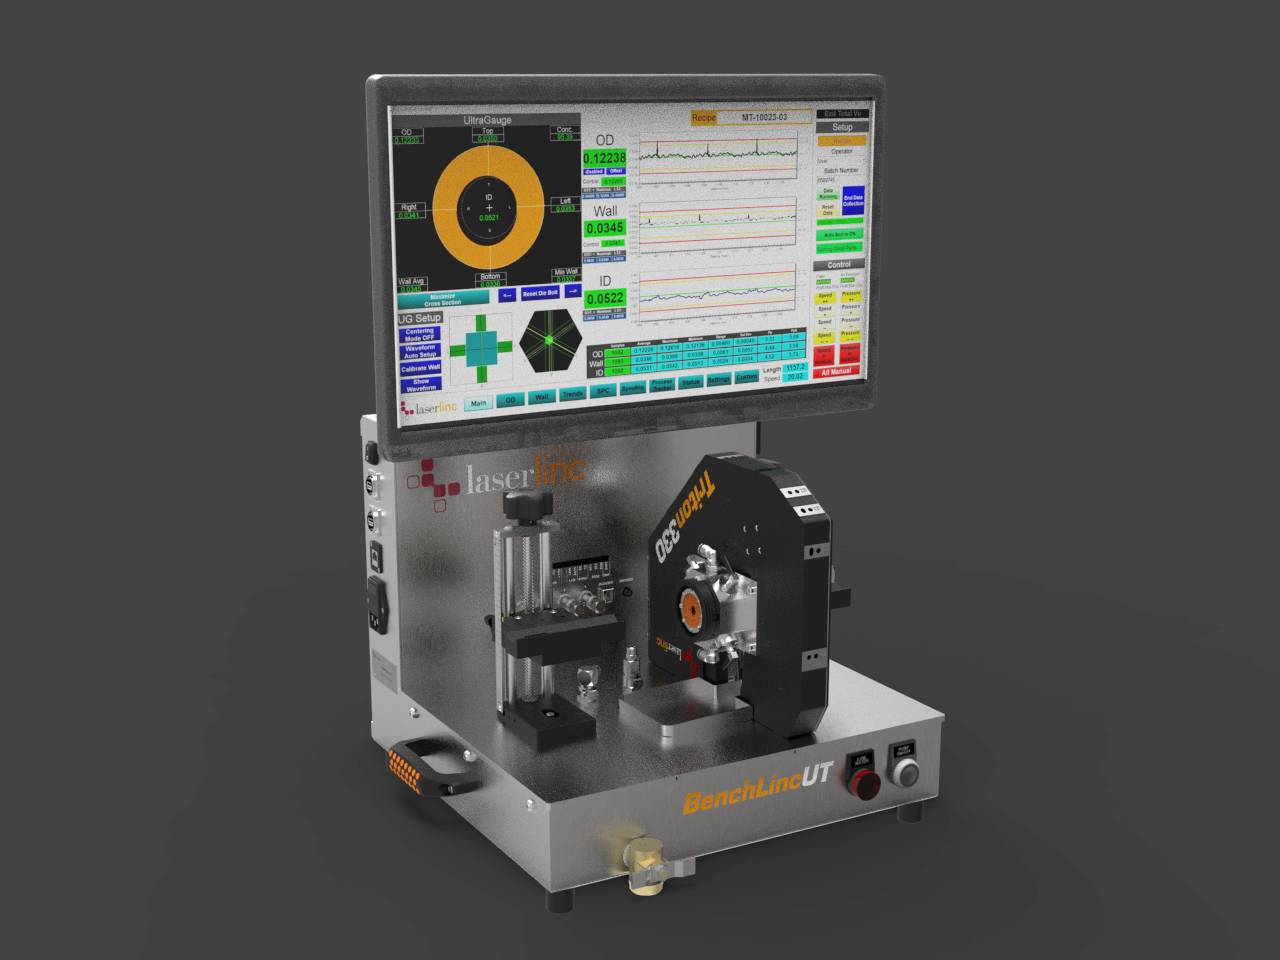
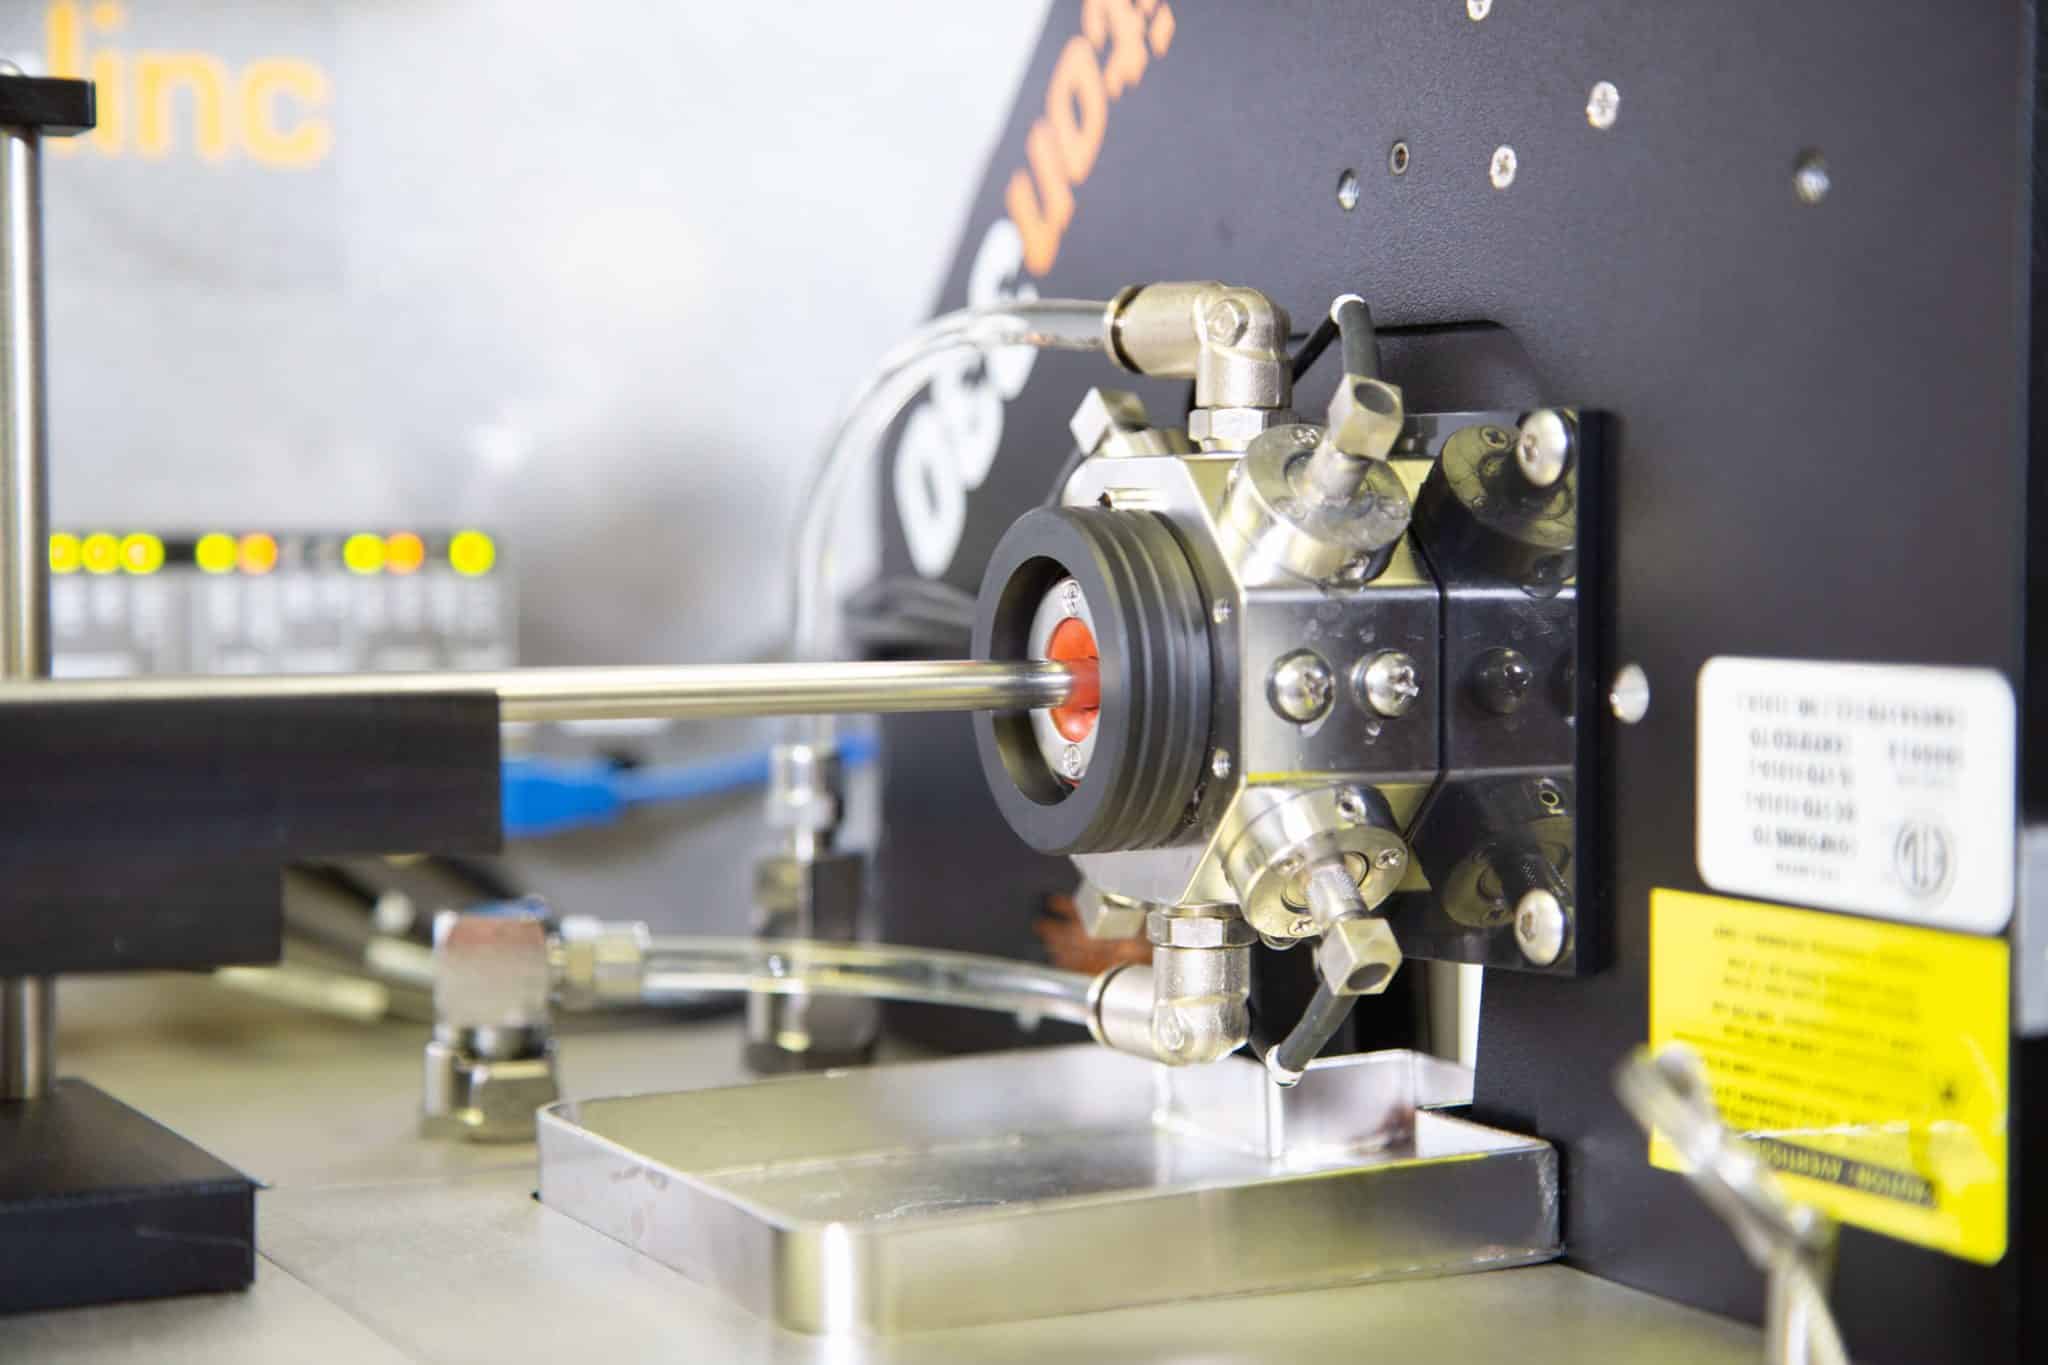
The BenchLinc UT is a tabletop measurement system designed for offline QC of rigid tubing. It uses advanced ultrasonic sensors to measure wall thickness and concentricity continuously across the entire sample length rather than just the ends. This approach helps identify subtle defects that traditional contact-based or end-only methods will miss.
Key Advantages:
- Measures wall thickness as thin as 0.003″ (75 μm)
- Works with metal alloys like stainless steel, nitinol, cobalt chromium, titanium, and braided/coiled tubing
- Also compatible with rigid plastic tubing (e.g., Pebax, polypropylene)
An integrated triple-axis laser micrometer also measures OD, ID, and ovality, while an encoder matches length to measurement data for complete traceability.
Case in Point: Medical Device Safety
In high-stakes applications like vascular stents or catheter tubing, a thin spot in the wall could lead to product failure after implantation. That’s a risk tube manufacturers cannot afford.
The BenchLinc UT enables full-length inspection, catching out of spec product before it goes out the door. For quality engineers in regulated industries, this not only improves product safety, it helps ensure compliance with FDA and international standards.
BenchLinc UT: Key Features for Quality Engineers
- Ultrasonic sensors for accurate wall thickness and concentricity
- Laser micrometer for precise OD, ID, and ovality
- Built-in encoder for length-based correlation
- Consistent sample handling to reduce human error
- Windows touchscreen or desktop PC interface
- Data logging & traceability for SPC and validation processes
Seamless Integration into QC Workflows
The BenchLinc UT is engineered for fast, repeatable measurements that fit naturally into your existing QC workflow. It:
- Correlates measurements to pre-defined recipe parameters
- Flags out-of-spec tubing within seconds
- Reduces the need for multiple tools or manual gauges
- Eliminates operator subjectivity, bias, and error
Ready to Enhance Your QC Process?
If you’re looking for a reliable, accurate, and repeatable solution for offline tubing inspection, LaserLinc’s BenchLinc UT is trusted by medical device manufacturers worldwide.
The BenchLinc UT is ideal for rigid plastic or metal tubing. For softer, stretchy, or non-hollow materials, consider:
These alternatives offer tailored solutions for different tubing types while maintaining high measurement accuracy.
What You Get with LaserLinc:
📅 4-Year Industry-Leading Warranty
🔧 2 Years of Unlimited Technical Support
✅ U.S.-Based Design, Service & Manufacturing
Take the Next Step
📄 Request detailed technical specs
📬 Send samples for evaluation & testing
💬 Connect today to discuss your application

Founder, Gauge Advisor LLC
👉 Read these next:
Catheter, Cannula, and Guidewire Measurement: Choosing the Right Laser Micrometer Setup
BenchLinc: Fast and Precise Diameter, Wall, and Ovality for High-Performance Tubing
